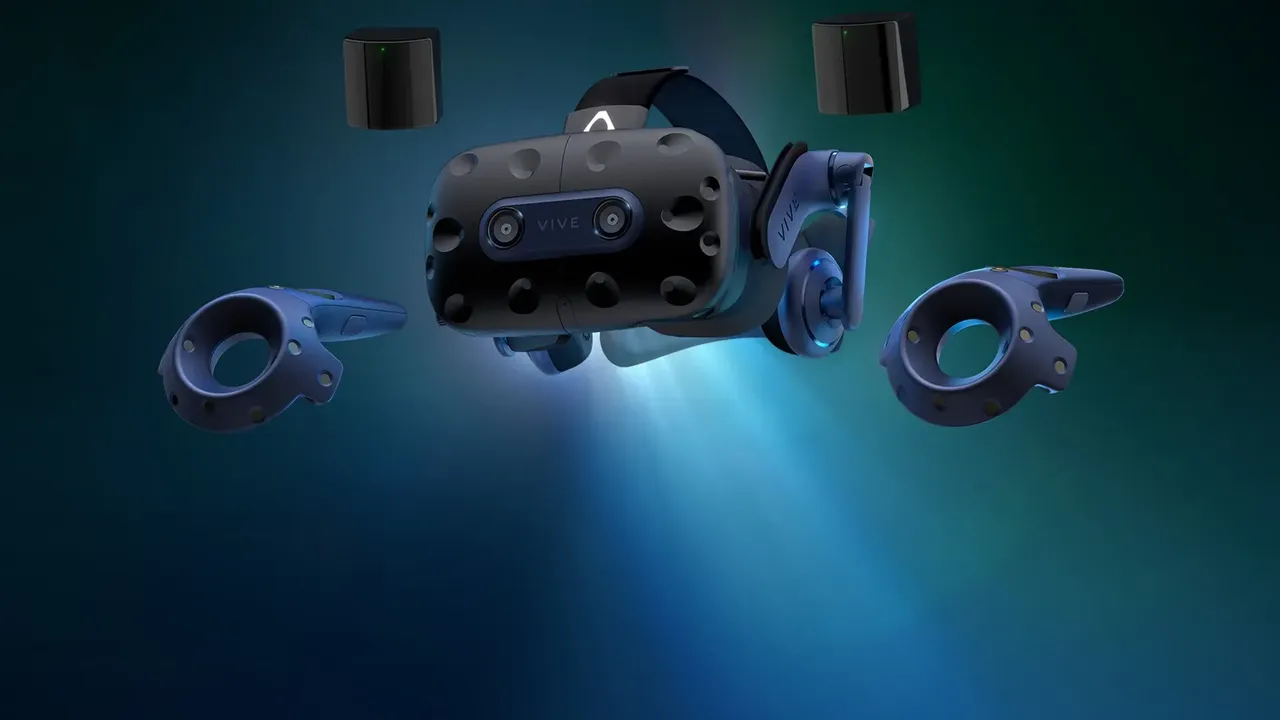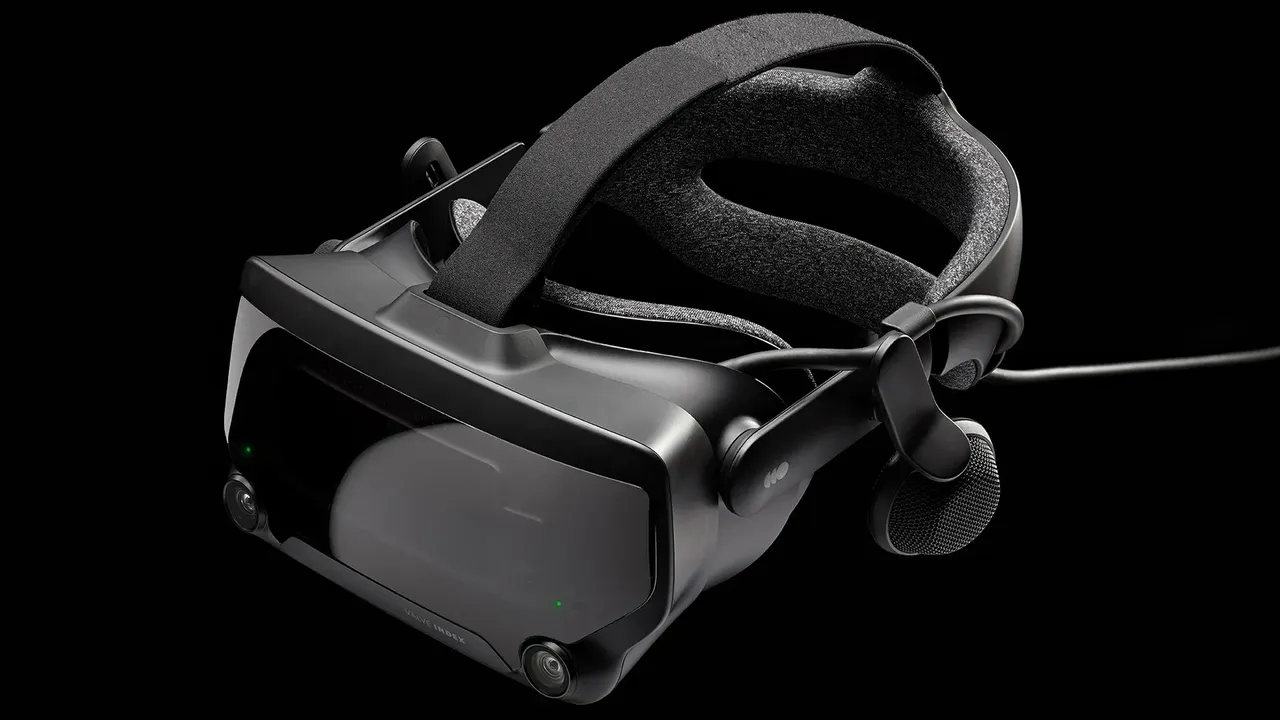
SteamVR 2.0 Base Station Guide: Versions, Setup, Software Controls, Troubleshooting & Compatibility
Complete guide to the SteamVR 2.0 Base Station and its SteamVR software controls: hardware and firmware versions (1.0 vs. 2.0), step-by-step mounting and installation precautions, Bluetooth power management and channel setup, LED error codes (10009/10010), and compatible VR headsets and trackers.
- Intermediate
- 25 min
- Checked on SteamVR 2.19+
- Last checked November 6, 2026

By LongZ
Updated · 14 min read
What you need
- One to four SteamVR 2.0 Base Stations (Valve Index or HTC VIVE 2.0 variant) with their original 12V DC power adapters
- A Windows or Linux PC with Steam and the latest version of SteamVR installed
- A SteamVR 2.0-compatible VR headset (such as Valve Index, HTC VIVE Pro 2, or Bigscreen Beyond 2) with built-in Bluetooth or a Link Box
- Wall mounts, tripods, or floor-to-ceiling tension poles with standard 1/4"-20 UNC threads and at least 2m × 1.5m of clear room-scale space
Whether you are setting up a classic Valve Index, an ultra-light micro-OLED headset like the Bigscreen Beyond 2, or full-body VIVE Tracker (3.0) pucks for VRChat, the SteamVR 2.0 Base Station remains the gold standard for sub-millimeter PC VR positional tracking. While the physical unit is a passive infrared laser beacon, all of its intelligence—channel assignment, Bluetooth sleep states, firmware flashing, and room-scale calibration—is controlled directly through the SteamVR desktop software.
This comprehensive guide covers everything you need to know about the SteamVR 2.0 Base Station hardware and software ecosystem: version differences (1.0 vs. 2.0 and firmware revisions), step-by-step physical and software installation, essential precautions, daily usage controls, common errors and LED fault codes, and full device compatibility.
1. Introduction & Versions (Hardware Generations & SteamVR Software)
How SteamVR 2.0 Base Station Tracking Works
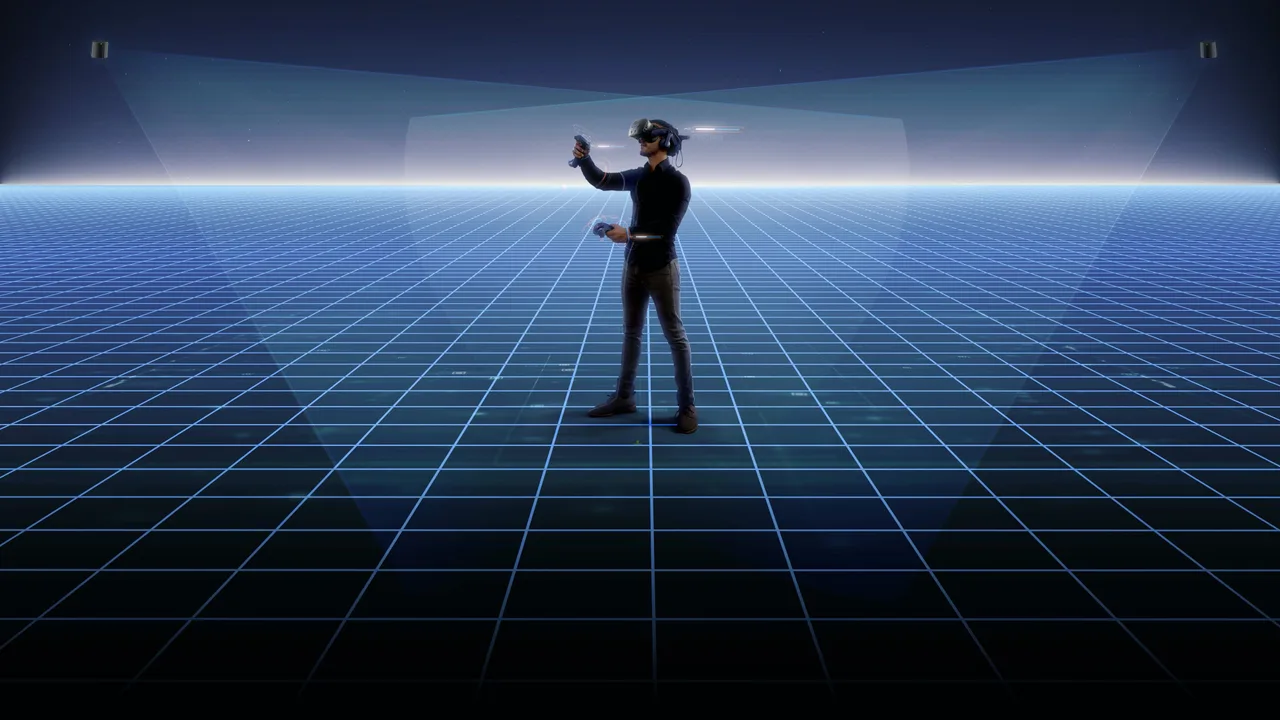
Unlike inside-out tracking headsets that rely on onboard cameras to observe your room, base station tracking (codenamed Lighthouse by Valve) uses an "outside-in" optical reference system. Crucially, Base Stations are not cameras and do not transmit positional data back to your PC. Instead, each unit houses a high-speed spinning rotor that sweeps your room with invisible infrared (IR) fan beams 100 times per second.
Tiny photodiode sensors embedded across your VR headset, controllers, and trackers detect the exact microsecond each laser sweep hits them. The SteamVR runtime on your PC combines those laser timing intervals with high-speed IMU (gyroscope and accelerometer) data to calculate six degrees of freedom (6DoF) pose with sub-millimeter precision and zero occlusion behind your back.
Hardware Versions: Base Station 1.0 vs. Base Station 2.0
Before installing or buying replacement units, you must identify which generation you have:
- SteamVR Base Station 1.0 (Flat Front, Model 2PR8100): Released in 2016 with the original HTC VIVE. Features a completely flat glossy front panel, two internal spinning motors (X and Y axes), a 120° × 120° field of view (FOV), and an optical LED array that flashes sync pulses across the room. Limited to 2 stations maximum on physical channels
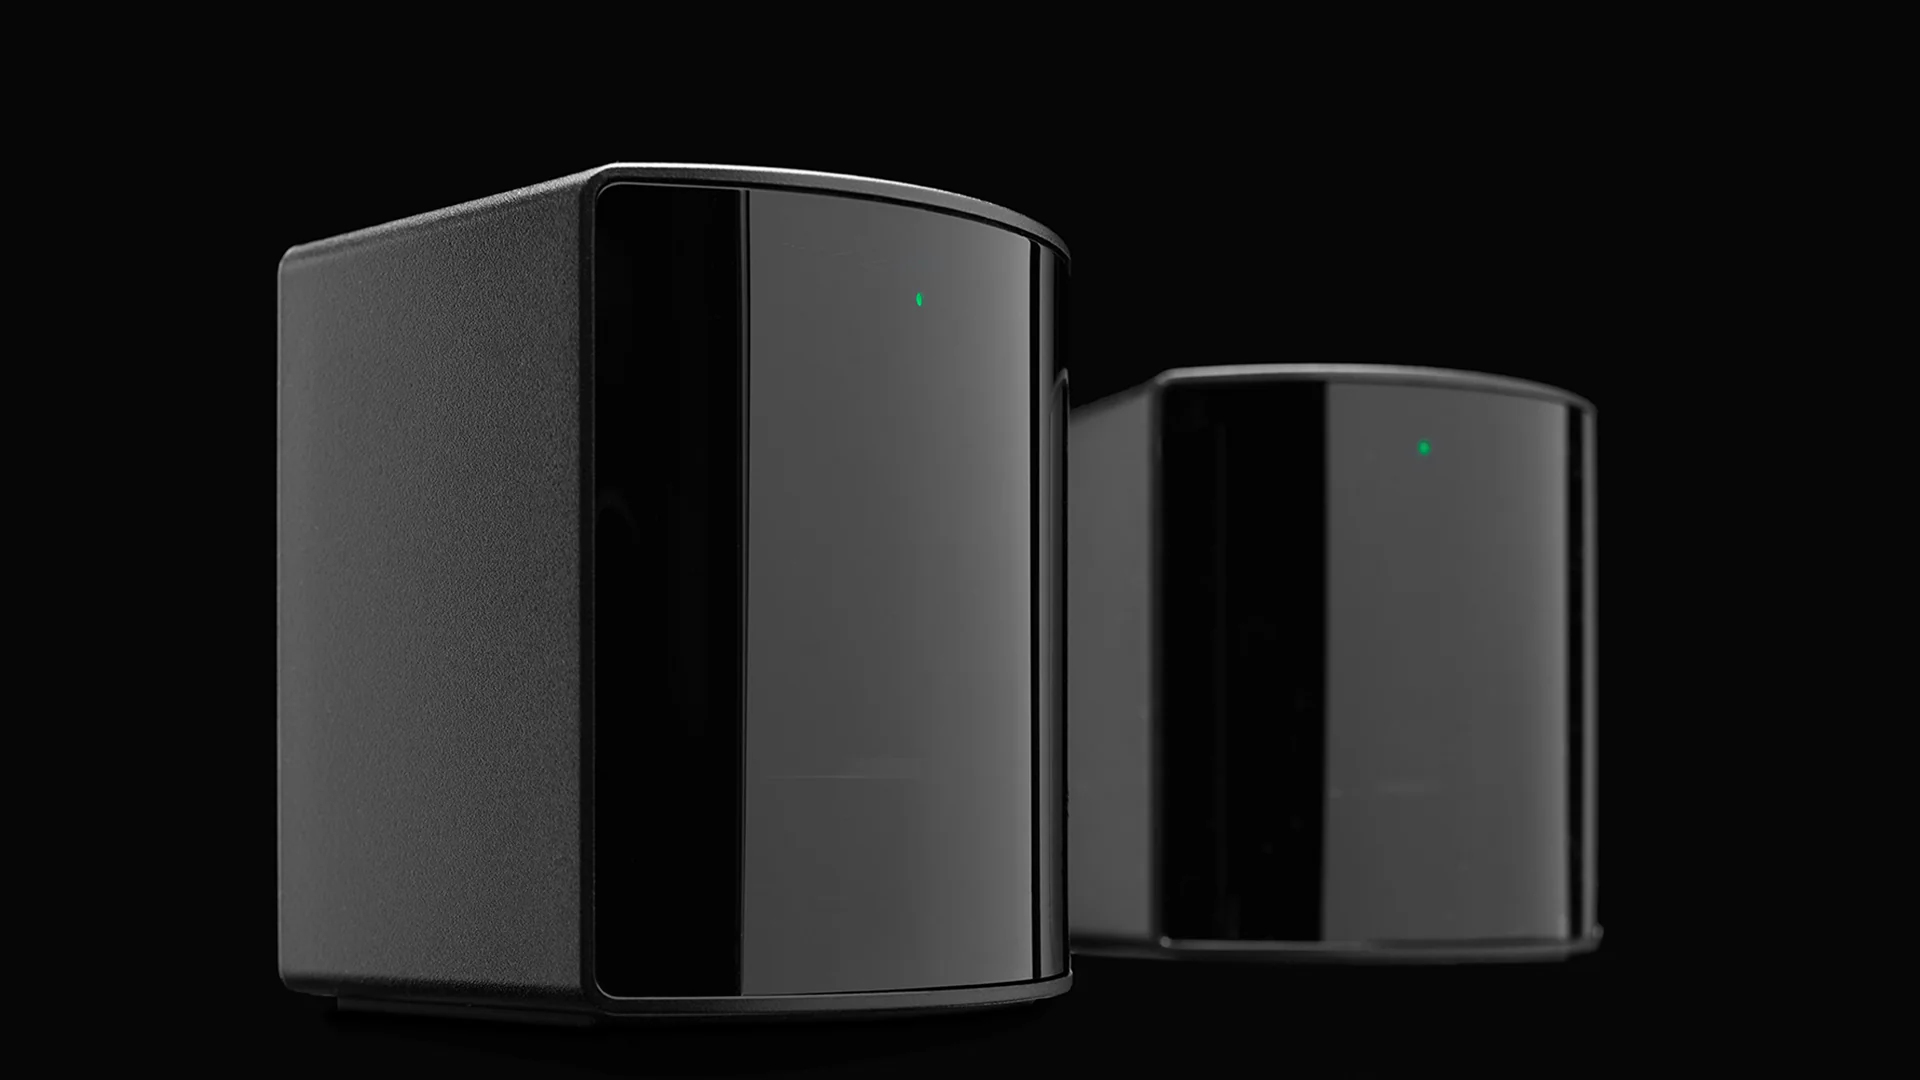
A,b, andc. - SteamVR Base Station 2.0 (Curved Front, Model 1004 / 2Q2R100): Introduced in 2018–2019 for the VIVE Pro and Valve Index. Features a curved front panel, a single faster-spinning motor with a V-shaped dual-fan lens, and an expanded 150° horizontal × 110° vertical FOV. It replaces optical flash sync with Sync-on-Beam technology, modulated directly into the laser sweep. This eliminates the need for stations to see each other, supports 16 optical channels (Channels 1–16), and scales up to 4 base stations in a single 10m × 10m (32.8 ft × 32.8 ft) play space.
- Valve Index vs. HTC VIVE 2.0 Retail Variants: Every SteamVR 2.0 Base Station is manufactured by Valve under FCC ID
2AES41004and runs identical firmware. However, the Valve-packaged version includes a longer 4.5 m (14.7 ft) power cable and a ball-joint wall mount in the box, whereas the retail HTC VIVE SteamVR Base Station 2.0 ($229 USD) ships with a shorter 2.5 m (8.2 ft) power cord and no mounting bracket.
Software & Firmware Versions
- SteamVR Desktop Runtime (v2.8 – v2.19+): All Base Station 2.0 management is built natively into SteamVR on Windows 10/11 and Linux via the integrated
lighthousedriver and Bluetooth Low Energy (BLE) stack. - Checking Your Firmware Version: Open the SteamVR Status Window, click the top-left menu (
≡), and select Create System Report. Under the Devices tab, each detectedLHB-XXXXXXXXunit lists its exact hardware revision and internal firmware build, or you can hover your cursor over any hexagonal Base Station icon in the status window. - Third-Party Companion Apps (For Mixed-VR Users): If you use Base Station 2.0 units with an inside-out headset that lacks Valve's built-in Bluetooth radio, free utilities like Lighthouse Power Management (Lighthouse PM) on Android/iOS or OVR Lighthouse Manager on Windows allow you to toggle sleep modes and view channels via a standard phone or PC Bluetooth adapter.
2. Step-by-Step Installation Guide & Critical Precautions
Step-by-Step Installation
- Step 1: Choose Opposite Diagonal Corners: For a two-station room-scale setup (up to 5m × 5m / 16ft × 16ft), position the units in opposite diagonal corners of your room facing the center of your play area. If you are installing three or four Base Station 2.0 units (up to 10m × 10m), place one in each corner so that your headset and controllers always remain within 7 meters (23 feet) of at least two stations.
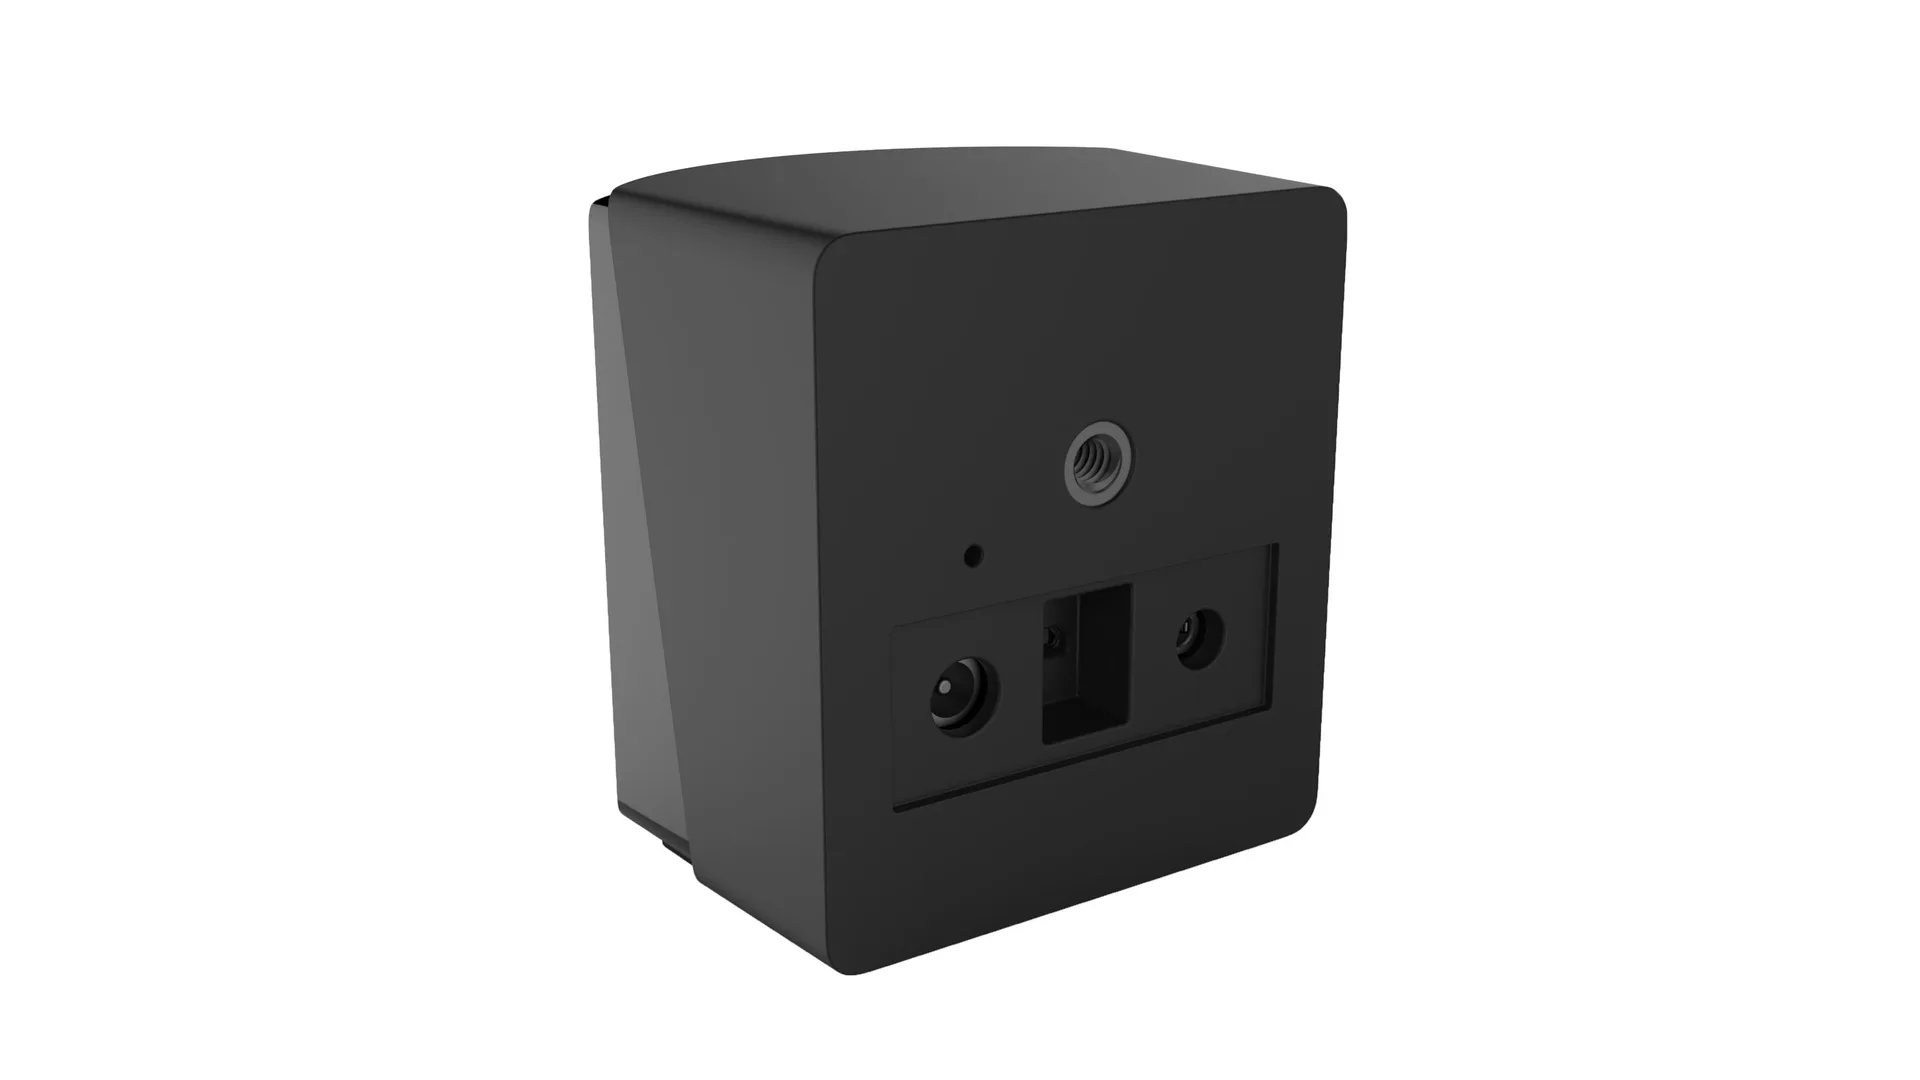
- Step 2: Mount Above Head Height and Angle Downward: Secure each station at least 2.0 to 2.4 meters (6.5 to 8 feet) off the floor, angled downward between 25 and 45 degrees toward the center of your playspace. Use the standard
1/4"-20UNC threaded socket on the back or bottom of the unit to attach it to wall studs/drywall anchors, heavy-duty camera tripods, or floor-to-ceiling tension poles. - Step 3: Peel the Protective Film & Connect Power: Remove the thin clear protective plastic film from the curved dark front lens. Plug the included 12V DC power adapter into the rear barrel port and connect it to a wall outlet. The base station will automatically spin up its internal motor and display a solid green (or solid white) status LED within 10–15 seconds.
- Step 4: Install and Launch SteamVR on Your PC: Open the Steam client on your PC, install SteamVR from the Library > Tools section, plug in your VR headset, and click VR in the top-right corner of Steam. Once your headset or controllers are placed inside the play area within view of the stations, the hexagonal Base Station icons in the SteamVR status window will turn solid green.

Important Installation Precautions
- Never Move or Tilt a Powered Base Station: Inside each Base Station 2.0 is a mechanical rotor spinning at thousands of RPM. Moving, bumping, or adjusting the ball mount while the unit is plugged in creates gyroscopic stress on the motor shaft, which wears out the bearings and can cause permanent laser misalignment. Always unplug power and wait 15 seconds for the rotor to stop before adjusting its angle.
- Cover Mirrors, Windows, and Glossy Screens: Infrared laser sweeps bounce off glass, mirrors, polished metal frames, and large glossy TVs just like visible light. A single uncovered bedroom mirror creates false "reflected" timing signals that cause controllers to float away or the headset view to jerk violently.
- Never Mix 1.0 and 2.0 Base Stations: Base Station 1.0 and 2.0 units use incompatible synchronization protocols and cannot operate together in the same play area.
- Keep Tracked Devices at Least 0.5m (1.6 ft) Away: Getting closer than 50 cm to the front face of a Base Station 2.0 overwhelms the headset's photodiode sensors. Likewise, never mount a 2.0 station lower than 0.5m off the floor.
- Ensure Rigid Mounting Away from Subwoofers: Do not place base stations on wobbly bookshelves, desks that shake when you walk, or near speaker subwoofers. Continuous vibration triggers the internal safety accelerometer and shuts off the laser.
3. How to Use & Configure SteamVR 2.0 Base Station Software Controls
Step 1: Enable Bluetooth in SteamVR
To unlock wireless channel configuration, automatic sleep/wake power management, and over-the-air firmware updates, you must enable SteamVR's Bluetooth link (which uses the BLE radio inside your Valve Index headset or VIVE Link Box):
- Launch SteamVR on your PC with your headset powered on.
- Click the menu icon (
≡) in the top-left corner of the desktop SteamVR Status Window. - Select Devices > Bluetooth Settings (or Settings > Bluetooth).
- Check the box for Enable Bluetooth. If prompted to install or update the Bluetooth Link Driver, click Install and restart SteamVR.
Step 2: Configure Base Station 2.0 Channels (Channels 1–16)
Every Base Station 2.0 in your room must broadcast on its own unique channel between 1 and 16. While full VR kits ship pre-set to Channels 1 and 2, adding a third or fourth station—or replacing a unit—can cause two stations to share the same channel. You can change channels using either software or hardware:
- Method A — Software Configuration in SteamVR (Recommended):
- Open SteamVR Menu (
≡) > Devices > Base Station Settings. - Click Configure Base Station Channels under the Base Station 2.0 section.
- Wait 5–10 seconds while SteamVR scans over Bluetooth and lists every nearby station along with its current channel (1–16).
- Click Automatic Configuration to let SteamVR resolve any conflicts automatically, or click a specific station's channel link, pick an unused number from 1 to 16, and click Apply.
- Open SteamVR Menu (
- Method B — Manual Pinhole Button on the Rear (No Bluetooth Required):
- Keep the Base Station 2.0 plugged into power and running.
- Insert an unfolded paperclip or SIM ejector tool into the small recessed pinhole button just above the Micro-USB port on the back of the unit.
- Press the button gently once. Each press advances the base station sequentially to the next channel (1 through 16, wrapping back to 1).
- Hover over the base station icon in the SteamVR status window on your PC to confirm its new channel number.
Step 3: Turn On Automatic Power Management (Standby vs. Sleep Mode)
Out of the box, Base Station Power Management is turned OFF by default, meaning the internal motors and lasers run 24 hours a day. Turning Power Management ON dramatically extends motor bearing life and stops the high-pitched whine when you close VR:
- Open SteamVR Menu (
≡) > Devices > Base Station Settings > Power Management (also accessible via SteamVR Settings > Base Station > Power Management). - Check Enable Power Management.
- Choose your preferred standby behavior when SteamVR closes:
- Standby Mode (Single Moon Icon): Turns off the infrared lasers while keeping the internal motor spinning. The status LED dims, and the station wakes up in about 5 seconds when you launch SteamVR.
- Sleep Mode (Double "ZZ" Icon — Recommended): Completely shuts down both the infrared lasers and the spinning rotor motor. It takes 20 to 30 seconds for the motors to spin back up when SteamVR starts, but it eliminates all room noise and prevents mechanical wear over years of ownership.
Note: Only leave Power Management turned OFF if multiple PCs share the exact same physical room and Base Stations simultaneously, so one player closing SteamVR does not put the stations to sleep while another player is still in VR.
Step 4: Identify Stations & Run Room Setup
- Identify Base Station: Not sure which physical corner unit is Channel 1 or Channel 2? Hover over a base station icon in the SteamVR window and click Identify Base Station. That physical unit's front LED will rapidly flash white for several seconds.
- Run Room Setup: Open SteamVR Menu (
≡) > Room Setup. Select Room-Scale (minimum 2m × 1.5m) to trace your safe Chaperone boundary with a controller, or Standing Only for stationary cockpit and desk games. Place your controllers on the floor when prompted to calibrate floor height. Whenever a base station is bumped or re-angled, re-run Room Setup immediately.
4. Common Errors, LED Status Codes & Troubleshooting
A. SteamVR 2.0 Base Station LED Status Code Reference
- Solid Green (or Solid White on select HTC batches): Normal operation. The rotor is locked at full speed and IR lasers are actively sweeping.
- Dim Green or Dim Blue: The station is in Bluetooth Standby or Sleep mode. Launch SteamVR (or click Wake Up All Base Stations) to wake it.
- Flashing / Blinking Blue: Vibration or instability error. The station's internal accelerometer detected shaking, tilting, or loose mounting and disabled the laser. Tighten the mount, ensure it is not on a vibrating surface, and unplug power for 10 seconds to reset.
- Flashing White: Either spinning up during initial boot or responding to the Identify Base Station command in SteamVR.
- Blinking / Flashing Red ("Red Light of Death"): Critical hardware fault (SteamVR Error 10009 or 10010). An internal laser diode, rotor motor, or optical sync sensor has failed self-test.
- No LED (Dark): No power is reaching the board, or Sleep Mode has fully dimmed the LED. Check the barrel plug and wall outlet.
B. Top 5 Common Software & Hardware Errors (and How to Fix Them)
1. Blinking Red LED & SteamVR Error 10009 / 10010 (Fault 02 / Fault 03)
- Cause: Error 10009 or 10010 accompanied by a blinking red LED means the Base Station 2.0 failed its internal hardware diagnostic (most often a burnt-out IR laser diode or worn rotor bearing). Users sometimes notice this right after a firmware update because newer firmware runs stricter laser health checks on startup.
- How to Fix:
- Unplug the power cord from the back of the base station and wait 60 full seconds for the internal capacitors to discharge.
- Plug the adapter directly into a different wall outlet (bypassing overloaded power strips) and watch if it locks to solid green.
- CRITICAL WARNING — Never Use Manual USB
firmware.binDrag-and-Drop on 2.0 Units: Old forum guides for Base Station 1.0 suggest holding the rear button while plugging in USB to mount aCRP_DISABLEDdrive and overwritingfirmware.bin. Never do this on a SteamVR 2.0 Base Station! Doing so erases the unit's unique factory optical calibration tables stored in flash memory, permanently ruining its tracking accuracy even if the LED turns green. Only update or recover 2.0 firmware through SteamVR's built-in Devices > Update Device menu. - If power-cycling and SteamVR's built-in recovery do not clear the blinking red light, the internal hardware has failed permanently and the unit must be replaced or RMA'd through Valve/HTC.
2. SteamVR Crashes or Closes Immediately When Clicking "Update Device"
- Cause: A known bug in modern SteamVR 2.x builds causes the SteamVR desktop app to crash to desktop the instant you click Update Device on a Base Station 2.0 due to an uninitialized Bluetooth device enumeration pointer.
- How to Fix (The System Report Workaround):
- Launch SteamVR and wait for your headset and base stations to turn green.
- Click SteamVR Menu (
≡) > Create System Report and wait 5 seconds for the report window to fully populate all device serial numbers. - Leave the System Report window open (or close it after it finishes loading), then immediately click SteamVR Menu (
≡) > Devices > Update Device and select your Base Station. The firmware update wizard will now open and flash cleanly without crashing.
3. "Base Station Setup Error" / Optical Channel Conflict
- Cause: Two Base Station 2.0 units in the same room are set to the exact same channel (for example, two standalone replacement stations both defaulting to Channel 1 or Channel 3), causing their laser sweeps to collide.
- How to Fix: Open Devices > Base Station Settings > Configure Base Station Channels and click Automatic Configuration, or press the rear pinhole button once on one of the conflicting stations with a paperclip.
4. Base Stations Refuse to Sleep or Wake Up ("Bluetooth Not Available")
- Cause: Either the headset's USB cable is plugged into a finicky USB hub, Windows Core Isolation (Memory Integrity) is blocking the Broadcom BLE driver, or a Bluetooth packet dropped during SteamVR shutdown.
- How to Fix: Connect your headset/Link Box USB cable directly to a rear motherboard USB 3.0 port. Open Devices > Base Station Settings, click Wake Up All Base Stations, or uncheck and re-check Enable Power Management. If a station stays asleep when launching VR, unplug its power cord for 5 seconds and plug it back in to force an immediate wake-up.
5. Gray Screen Flash, Floating Controllers, or Tilted Floor
- Cause: Infrared laser reflections bouncing off nearby glass/mirrors, sunlight hitting the play area, or a base station that shifted slightly on its mount.
- How to Fix: Drape a cloth over mirrors, close window blinds, verify the protective plastic film is peeled off the front lens, tighten both ball mounts, and re-run SteamVR Menu > Room Setup.
5. Compatible & Incompatible Devices
Because SteamVR 2.0 Base Stations use Sync-on-Beam modulation rather than optical flash pulses, they only work with VR hardware equipped with second-generation SteamVR 2.0 photodiode sensors (TS4231). First-generation 2016 Lighthouse hardware lacks the circuitry to decode 2.0 beams.

Compatible VR Headsets (Native SteamVR 2.0 Support)
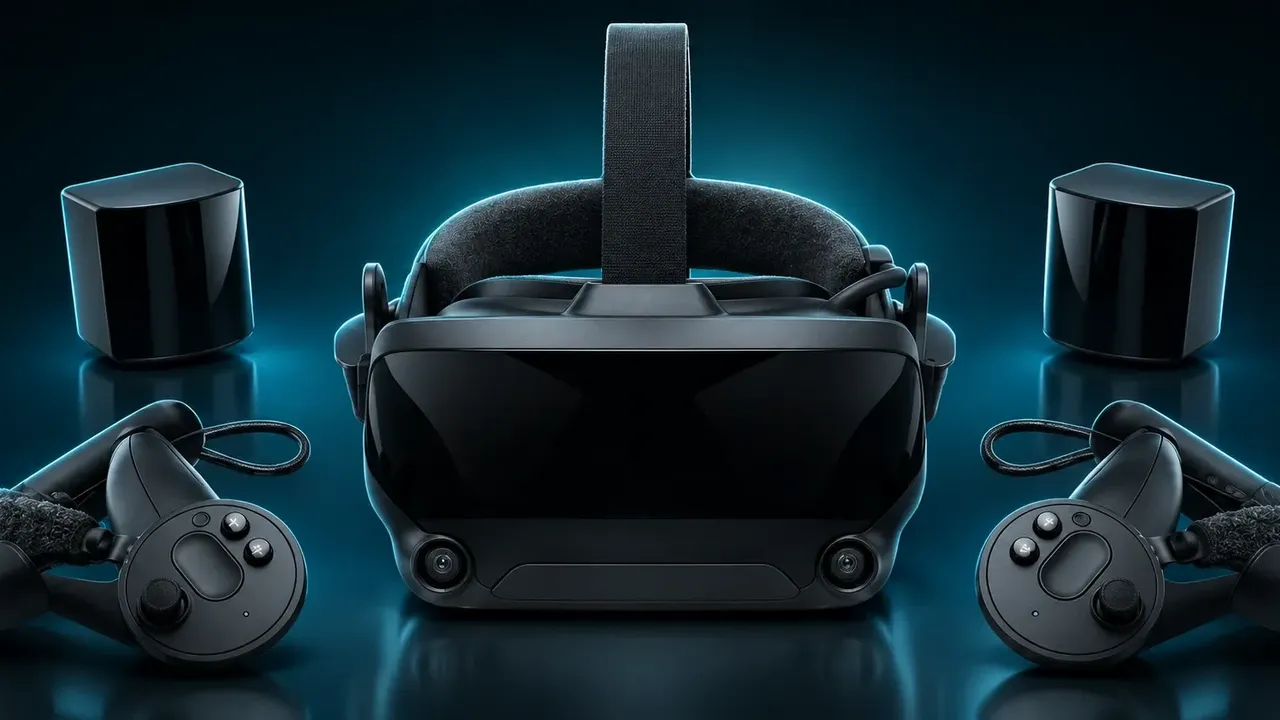
- Valve: Valve Index
- Bigscreen: Bigscreen Beyond, Bigscreen Beyond 2, and Bigscreen Beyond 2e
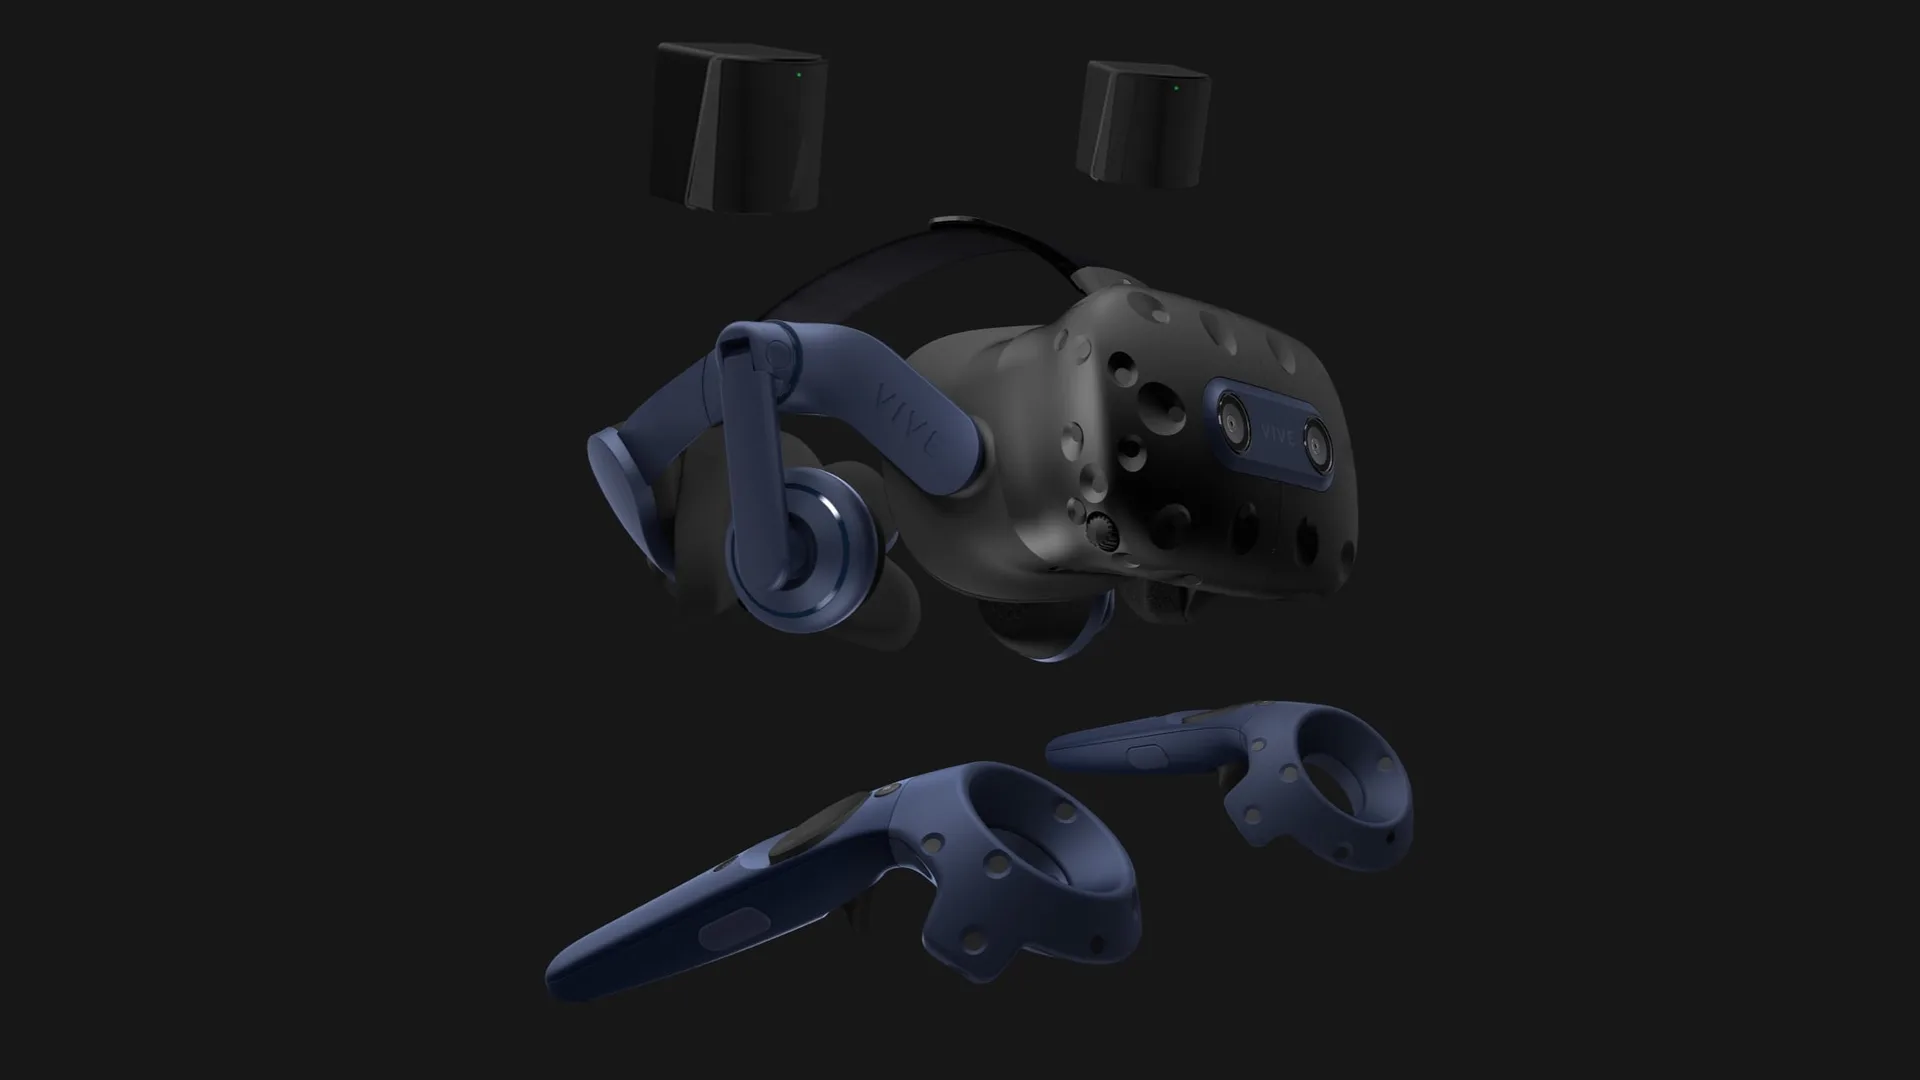
- HTC VIVE: HTC VIVE Pro, VIVE Pro Eye, HTC VIVE Pro 2, and VIVE Cosmos Elite (with the external tracking faceplate installed)
- Shiftall / Somnium / Varjo: Shiftall MeganeX superlight 8K, Somnium VR1, and Varjo Aero / VR-3 / XR-3 / XR-4 (SteamVR editions)
- Pimax (with Lighthouse Faceplate): Pimax 5K Super / 8KX, Pimax Crystal, Pimax Crystal Super (with Lighthouse faceplate), and Pimax Dream Air (Lighthouse version)
Compatible Controllers, Trackers & Mixed-VR Setups

- Controllers: Valve Index Controllers ("Knuckles"), HTC VIVE Controller (2018 / 2.0 — identifiable by its dark blue housing), Shiftall FlipVR controllers, and Pimax Sword controllers.
- Full-Body Trackers: VIVE Tracker (3.0), VIVE Tracker (2018 / 2.0 — identifiable by the blue VIVE triangle logo in the center), and Tundra Trackers.
- Mixed-VR Setups (Quest 3, PICO 4 Ultra, Steam Frame): Inside-out headsets such as the Meta Quest 3, PICO 4 Ultra, and Valve Steam Frame do not use Base Station 2.0 for tracking the headset itself. However, when streaming PC VR, you can combine them with SteamVR 2.0 Base Stations, USB Wireless Dongles, and VIVE Trackers 3.0 or Index Controllers using the free OpenVR Space Calibrator software (ideally mounting one extra tracker to the headset strap for automatic Continuous Calibration).
Incompatible Devices (Will NOT Work with Base Station 2.0)
- Original 2016 HTC VIVE (1.0) Headset (black headset with round sensor dimples)
- Original HTC VIVE Controllers (1.0) (black/gray wands — only the blue 2018 Pro wands work with 2.0 stations)
- Original HTC VIVE Tracker (1.0 / 2017) (identifiable by the gray center triangle logo)
- SteamVR Base Station 1.0 Units (cannot be mixed with 2.0 units in the same room)
- Camera-Based Inside-Out Trackers: Standalone trackers like the VIVE Ultimate Tracker and PICO Motion Tracker use onboard cameras or IMU sensors and do not interact with SteamVR Base Stations.
Questions & answers
Can I mix SteamVR Base Station 1.0 and 2.0 in the same room?
No. SteamVR Base Station 1.0 uses optical sync flashes (or a physical sync cable), whereas Base Station 2.0 uses Sync-on-Beam technology embedded directly inside the laser sweep. Because their synchronization methods conflict, you cannot mix 1.0 and 2.0 units in the same play area.
How do I change channels on a SteamVR 2.0 Base Station?
Open the SteamVR status window on your PC, click the top-left menu (≡), and go to Devices > Base Station Settings > Configure Base Station Channels. Wait for Bluetooth scanning to finish, then click Automatic Configuration or manually assign each unit a unique channel from 1 to 16. If Bluetooth is unavailable, press the recessed pinhole button on the back of a powered station with a paperclip to advance its channel by one.
How do I make my SteamVR 2.0 Base Stations go to sleep automatically when I exit VR?
In SteamVR, go to Devices > Base Station Settings > Power Management and check Enable Power Management. Standby Mode (single moon icon) turns off the infrared laser so the station wakes up in 5 seconds while the motor keeps spinning. Sleep Mode (double ZZ icon) completely powers down both the laser and spinning motor, eliminating noise and extending motor bearing life.
What does a blinking red light (Error 10009 / 10010) on a Base Station 2.0 mean?
A blinking red status light (often paired with SteamVR Error 10009 or 10010) indicates an internal hardware failure in the laser diode or rotor sync mechanism. Unplug the power adapter for 60 seconds and test another wall outlet. Never attempt the old Base Station 1.0 manual USB firmware.bin drag-and-drop trick on a 2.0 unit, as it wipes factory calibration data and permanently bricks tracking accuracy. If power-cycling fails, the unit must be replaced.
Why does SteamVR crash immediately when I click Update Device on my Base Station 2.0?
This is a known SteamVR 2.x UI bug. To bypass the crash, open the SteamVR menu (≡), click Create System Report, and wait a few seconds for the report window to load all device IDs. Then return to Devices > Update Device—the firmware updater will now launch without crashing.
Which VR headsets and trackers are compatible with SteamVR 2.0 Base Stations?
SteamVR 2.0 Base Stations work natively with any headset, controller, or tracker built with second-generation TS4231 sensors, including the Valve Index, Bigscreen Beyond 2/2e, HTC VIVE Pro / Pro 2, Shiftall MeganeX superlight 8K, Pimax headsets with a Lighthouse faceplate, Index Controllers, blue VIVE Pro (2018) wands, VIVE Tracker 2.0/3.0, and Tundra Trackers. They do not work with original 2016 HTC VIVE 1.0 headsets, black 1.0 wands, or gray 1.0 VIVE Trackers.